
The Easy-Bake Oven is a classic, kid-friendly baking toy that teaches culinary basics through fun, safe, and creative cooking experiences․ Perfect for young chefs, it includes mixes, tools, and step-by-step guides to make delicious treats․ Designed with safety in mind, it’s an ideal way to introduce children to the joy of baking․
Understanding the Basics of the Easy-Bake Oven
The Easy-Bake Oven is a kid-friendly appliance designed for safe and simple baking․ It uses a heating element to cook small treats like cakes, cookies, and more․ Preheating typically takes 15-20 minutes, and recipes often involve mixes provided with the oven․ The oven includes tools like a pan pusher and baking pans, making the process easy for children․ It teaches basic cooking concepts, such as following instructions, measuring ingredients, and understanding cooking times․ The appliance is designed with safety features to prevent burns and electrical hazards․ Regular cleaning and proper use ensure optimal performance and longevity of the oven․
Safety Precautions
- Always handle hot pans and utensils with care to avoid burns․
- Adult supervision is recommended for children under 8 years old․
- Prevent electric shock by keeping the oven away from water․
- Never leave the oven unattended while it is in use․
Important Safety Tips for Using the Easy-Bake Oven
- Always supervise children when using the Easy-Bake Oven, especially for kids under 8 years old․
- Never touch the heating element or hot surfaces to avoid burns․
- Use oven mitts or the pan pusher to handle hot pans and baked goods․
- Keep the oven away from water and avoid using it near flammable materials․
- Ensure proper ventilation in the room while baking․
- Unplug the oven when not in use to prevent accidents․
- Teach children to handle the oven responsibly and follow all safety guidelines․

Assembly and Initial Setup
Begin by carefully unpacking all components, including the oven, pans, utensils, and instructions․ Place the oven on a stable, heat-resistant surface and ensure all parts are securely fitted․ Plug in the oven and allow it to preheat for 20 minutes before first use to ensure optimal performance and safety․ Follow the manual for specific assembly steps to avoid any issues․ This initial setup ensures smooth operation and prepares the oven for baking delicious treats․ Proper assembly is crucial for functionality and safety․ Always refer to the Easy-Bake Oven instructions for detailed guidance․
How to Assemble the Easy-Bake Oven
Start by carefully unpacking all components, ensuring no parts are damaged․ Place the oven on a stable, heat-resistant surface․ Insert the baking pan into the designated slot, aligning it properly with the oven’s opening․ Plug in the oven and ensure the power cord is securely connected․ Familiarize yourself with the controls, such as the timer and temperature knob․ Before first use, preheat the oven for 20 minutes to prepare it for baking․ Refer to the Easy-Bake Oven instructions for precise assembly steps to ensure everything fits correctly and functions safely․ Proper assembly is essential for optimal performance and a smooth baking experience․
First-Time Setup and Preheating Instructions
Before initial use, ensure the Easy-Bake Oven is assembled correctly․ Plug it in and locate the power switch, typically found on the back or side․ Turn it on and set the timer to the preheating time specified in the instructions, usually 15-20 minutes․ Allow the oven to preheat fully; you’ll know it’s ready when it reaches the desired temperature and the indicator light turns off․ During preheating, do not open the oven door to ensure proper heating․ Once preheated, the oven is ready for baking․ Always follow the manufacturer’s guidelines for first-time setup to ensure safety and optimal performance․ Proper preheating is crucial for even cooking and achieving the best results with your creations․
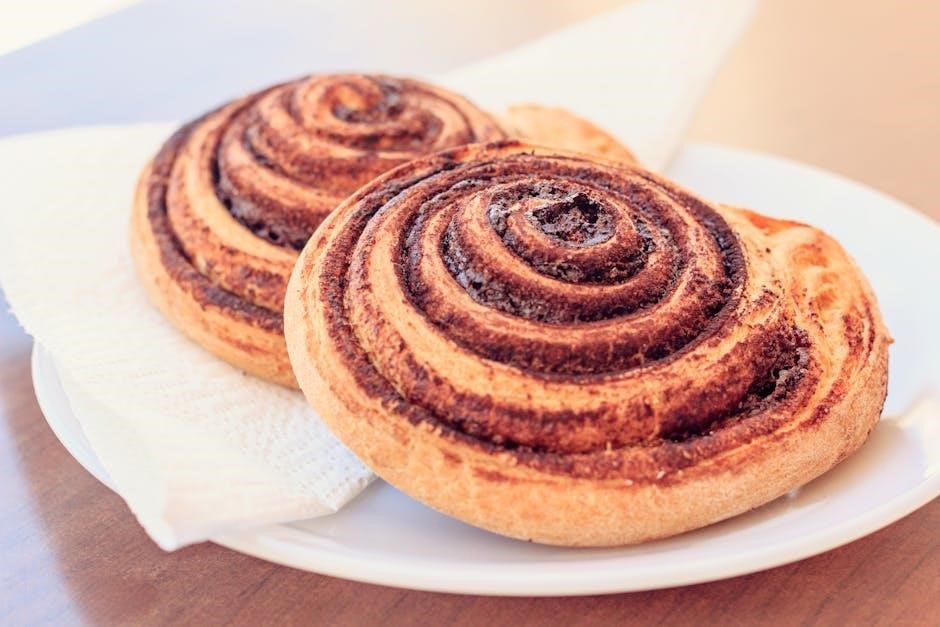
Baking Instructions
The Easy-Bake Oven simplifies baking with clear, step-by-step instructions․ Follow the recipe, preheat, and bake within the specified time for perfect results every time․ Ensure safety and fun!
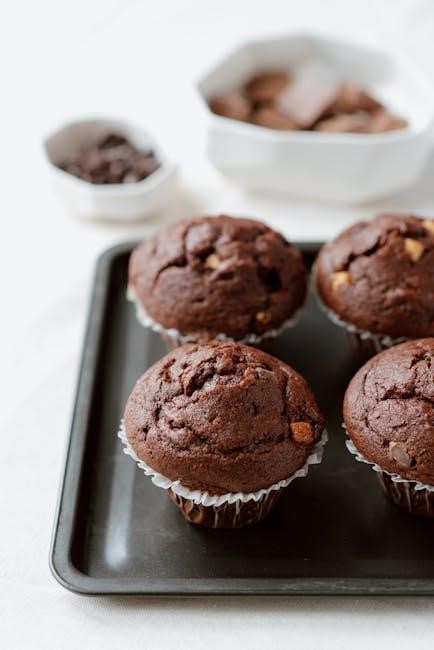
Mixing the Dough or Batter
Mixing is the first step in creating delicious treats with your Easy-Bake Oven․ Start by combining the provided mix with the recommended amount of water․ Stir until a smooth dough forms, ensuring all ingredients are well incorporated․ For best results, use a clean, dry bowl and mix gently to avoid overworking the batter․ If the mixture feels too dry, add a small amount of water․ Once mixed, portion the dough as instructed in the recipe․ Proper mixing ensures even baking and a consistent texture in your final creations․ Always follow the recipe’s specific instructions for optimal results․
Placing the Baking Pan in the Oven
Positioning the baking pan correctly is crucial for even cooking; Once your dough or batter is prepared, gently place it into the preheated oven using the provided pan pusher․ Ensure the pan is aligned with the guide rails to prevent it from falling or tilting․ Never force the pan into the oven, as this could damage the appliance or cause burns․ Always use oven mitts or the pan pusher to handle hot pans․ After baking, carefully slide the pan into the cooling chamber using the pusher․ Let it cool before removing your creations․ Proper placement ensures even cooking and prevents accidents․
Baking Time and Temperature Guidelines
Preheat the Easy-Bake Oven for 20 minutes before baking to ensure optimal performance․ Follow the recipe-specific baking times, typically ranging from 10 to 16 minutes․ Always monitor the timer and avoid opening the oven doors during cooking, as this can disrupt even heating․ Use the pan pusher to safely remove the pan once the baking cycle is complete․ Allow the pan to cool in the cooling chamber as instructed․ Adjustments to time or temperature may be needed based on the recipe or desired results․ Proper timing ensures your creations are perfectly baked and ready for cooling․
Cooling and Handling Baked Goods
Allow baked goods to cool in the cooling chamber as instructed․ Use the pan pusher to handle hot pans safely․ Let creations cool completely before serving for best results․
Proper Cooling Techniques for Your Creations
Once baked, use the pan pusher to carefully slide the pan into the cooling chamber․ Let it cool for the time specified in the recipe to prevent breaking․ Avoid touching hot surfaces; always use the pusher․ Once cooled, gently remove your creation from the pan․ For cakes, run a toothpick or knife around the edges, then tap the pan upside down․ Allow cookies and other treats to cool completely on a flat surface․ Proper cooling ensures your baked goods retain their shape and texture, making them ready for frosting or serving․
Troubleshooting Common Issues
If treats don’t bake evenly, check pan placement and ensure the oven is preheated․ For overcooking, reduce time slightly next batch; If oven won’t turn on, ensure it’s properly plugged in and consult the manual for reset instructions․
Resolving Common Problems During Baking
Common issues while using the Easy-Bake Oven can easily be resolved with quick troubleshooting․ If the oven isn’t heating, ensure it’s plugged in and the outlet is functioning․ For uneven baking, check that the pan is centered and the oven is preheated properly․ Overcooked treats can result from leaving them in too long, so keep an eye on the timer․ If the cake sticks to the pan, let it cool slightly before loosening with a knife․ Always refer to the user manual for specific guidance, and remember to clean up any spills promptly to maintain your oven’s performance․
Advanced Tips and Tricks
Enhance your baking experience by experimenting with custom mixes, adjusting cooking times, and utilizing the pan pusher effectively․ Try adding a touch of vanilla or cocoa for unique flavors, ensuring even distribution․ For a golden crust, bake slightly longer but watch closely to avoid overcooking․ Proper pan placement and timely cooling are key for perfect results․ These advanced techniques will take your creations to the next level, making every recipe a delightful success․ Always follow safety guidelines and enjoy the creative process of baking with your Easy-Bake Oven․
Enhancing Your Baking Experience with the Easy-Bake Oven
To elevate your baking, try customizing mixes with flavors like vanilla or cocoa for unique tastes․ Experiment with add-ins such as sprinkles or chocolate chips for extra flair․ Ensure even batter distribution and monitor baking times closely․ Use the pan pusher to handle hot pans safely and evenly․ For a golden crust, extend baking time slightly but watch carefully․ Proper cooling prevents sogginess, so let treats cool fully before serving․ These tips enhance creativity and satisfaction, making each recipe a success․ Always follow safety guidelines to enjoy a fun and rewarding baking journey with your Easy-Bake Oven․
Baking with the Easy-Bake Oven is a delightful way to foster creativity and learning․ With proper use and care, it offers endless fun and tasty results for young bakers․
Final Thoughts and Encouragement for Future Baking
Using the Easy-Bake Oven is an excellent way to nurture a love for baking in children․ It teaches essential skills like measuring, mixing, and following instructions․ Encourage young bakers to experiment with different recipes and flavors․ The oven’s safety features make it ideal for kids to learn without supervision․ Remember, every batch is a learning opportunity, so embrace mistakes as part of the process․ Keep exploring new ideas and having fun in the kitchen․ Happy baking!
Leave a Reply