
Nikon D610 Manual: A Comprehensive Guide
This comprehensive guide details the Nikon D610, covering everything from initial setup to advanced photographic techniques. Explore included accessories, menu navigation, and troubleshooting steps.
Discover how to maximize your camera’s potential, including CLS usage, time-lapse features, and HDR photography. Downloadable PDF manuals and official support resources are also available.
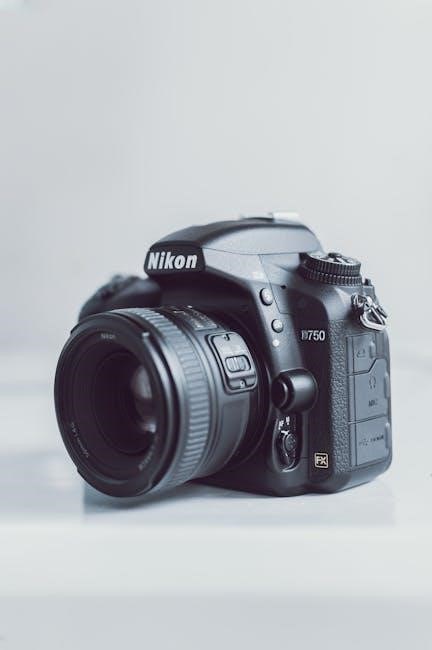
The Nikon D610 represents a refined entry into the world of full-frame photography, building upon the foundation laid by its predecessor, the D600. Released in October 2013, this DSLR offers a compelling blend of image quality, performance, and value for both enthusiasts and professionals. It features a 24.3-megapixel FX-format CMOS sensor, delivering exceptional detail and dynamic range.
This manual serves as a complete resource for understanding and utilizing all the capabilities of your D610. Whether you’re a seasoned photographer or new to DSLRs, this guide will walk you through every aspect of the camera, from basic operations to advanced techniques. You’ll find detailed explanations of the camera’s controls, shooting modes, and customization options.
Furthermore, we’ll cover essential maintenance procedures and troubleshooting tips to ensure your D610 continues to perform optimally for years to come. Accessing the official Nikon support page and downloadable PDF manual will further enhance your learning experience.
Key Features and Specifications
The Nikon D610 boasts a 24.3MP FX-format CMOS sensor, enabling high-resolution images with exceptional clarity and detail. It features a wide ISO range of 100-6400, expandable to 50-25600, for excellent low-light performance. Capture stunning visuals with its 6 frames per second continuous shooting speed.
Key specifications include a 3.2-inch LCD screen with 921k-dot resolution, and a robust autofocus system with 39 focus points. The camera supports Full HD 1080p video recording at up to 30fps. It’s compatible with Nikon’s Creative Lighting System (CLS).
Included accessories typically comprise a body, BS-1 hot shoe cover, DK-21 rubber eyepiece, BM-14 screen cover, and various manuals. The D610 utilizes SD memory cards for storage. Its compact and lightweight design enhances portability, making it ideal for diverse photographic pursuits.
What’s in the Box: Included Accessories
Upon unboxing your Nikon D610, you’ll find several essential components to get you started. The core item is, of course, the D610 camera body itself, designed for comfortable handling and durability. A crucial inclusion is the BS-1 hot shoe cover, protecting the flash shoe when not in use.
For comfortable viewing, a DK-21 rubber eyepiece is provided, reducing glare and enhancing clarity. The BM-14 screen cover safeguards the rear LCD screen from scratches and dust. You’ll also receive a comprehensive set of documentation, including the user manual and warranty information.
Additionally, a USB cable facilitates data transfer and camera control, while a charger is included for the battery. These accessories ensure a complete and ready-to-use experience right out of the box.
Getting Started with Your D610
Begin your photographic journey by charging the battery, inserting memory cards, and properly attaching a lens. Familiarize yourself with these initial steps for optimal performance.
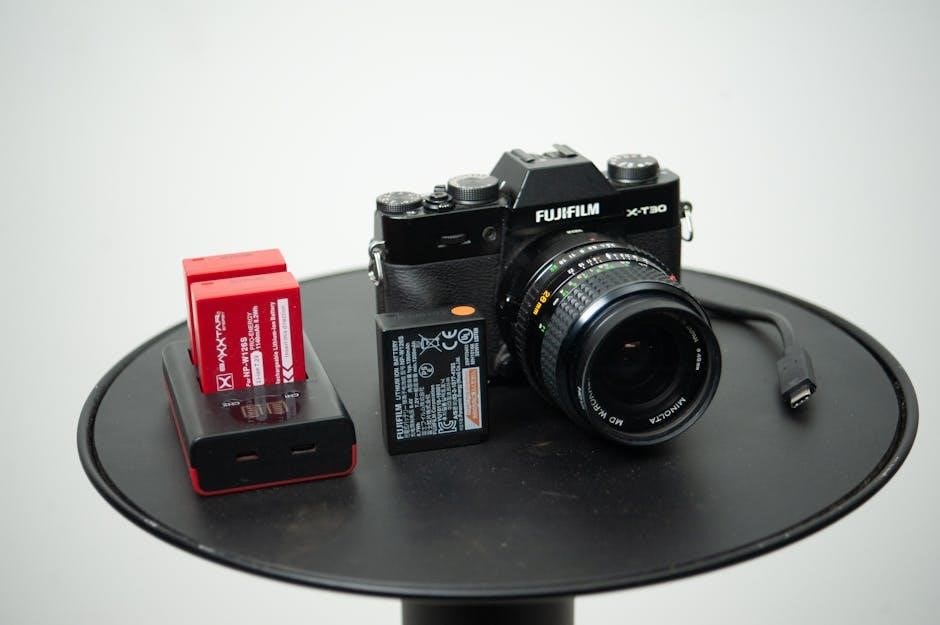
Charging the Battery
Before first use, fully charge the Nikon EN-EL24 battery. Insert the battery into the battery charger, ensuring correct polarity. The charger’s indicator light will illuminate, typically red during charging and green when complete.
Charging typically takes around 2-3 hours, but this can vary. Avoid interrupting the charging process. Nikon recommends using only the supplied charger to prevent damage. A fully charged battery provides substantial shooting capacity, allowing for numerous images.
Monitor the battery level via the camera’s display. Low battery warnings indicate the need for recharging. It’s advisable to have a spare battery readily available, especially during extended shooting sessions or when traveling. Proper battery care extends its lifespan and ensures reliable camera operation.
Inserting and Removing Memory Cards
The Nikon D610 utilizes SD memory cards for image storage. Locate the memory card slot, typically on the camera’s side. Gently insert the SD card, label side up, until it clicks into place. Do not force the card. The camera’s display will confirm card detection.
To remove the card, press the release latch on the card slot. The card will partially eject, allowing you to carefully pull it out. Avoid touching the card’s gold contacts. Always format new cards within the camera’s menu for optimal performance.
Use high-quality SD cards for reliable operation and faster write speeds. Regularly back up your images to a computer or external storage device to prevent data loss. Proper card handling ensures data integrity and extends the card’s lifespan.
Attaching and Removing Lenses
Attaching a Nikon lens to your D610 begins with aligning the lens mounting index with the camera body’s mark. Gently push the lens in and rotate it clockwise until it clicks securely into place. Avoid forcing the lens; proper alignment is crucial;
To remove the lens, press the lens release button on the camera body. While holding the button, rotate the lens counterclockwise and gently pull it away. Support the lens during removal to prevent damage. Always store lenses with the rear cap attached.
Regularly inspect the lens mount for dust or debris. Use a blower to remove any particles. Proper lens attachment and removal protect both the camera and the lens, ensuring optimal image quality.

Understanding the Camera Controls
Mastering the D610’s controls unlocks its full potential. Explore the mode dial, menu system, and customizable buttons for personalized shooting experiences and efficient operation.
The Mode Dial: Shooting Modes Explained
The Nikon D610’s mode dial offers a versatile range of shooting options, catering to both beginners and experienced photographers. Auto mode simplifies operation, letting the camera handle all settings. Program (P) allows for some control while maintaining automatic exposure.
Aperture-priority (A or Av) lets you set the aperture for depth of field control, while the camera determines shutter speed. Shutter-priority (S or Tv) allows you to control shutter speed for motion blur or freezing action, with the camera adjusting aperture. Manual (M) grants full control over both aperture and shutter speed.
Further options include scene modes like landscape, portrait, and sports, optimized for specific situations. The dial also features settings for flash control, effects, and user-defined settings for quick access to your preferred configurations. Understanding each mode empowers you to achieve creative control and optimal results in any shooting scenario.
Navigating the Menu System
The Nikon D610’s menu system, accessed via the ‘Menu’ button, is logically organized into several tabs represented by colored icons. These include setup, shooting, display, playback, and retouch. Each tab contains numerous settings for customizing your camera’s behavior.
Use the multi-selector and press the ‘OK’ button to enter submenus and adjust settings. The ‘i’ button provides quick access to frequently used settings directly on the rear LCD. Menu options are displayed clearly, with helpful explanations.
Customizing the menu is possible through the ‘Setup’ tab, allowing you to personalize display settings, button assignments, and overall camera operation. Familiarizing yourself with the menu structure is crucial for unlocking the D610’s full potential and tailoring it to your shooting style. Refer to the full user manual for detailed explanations of each setting.
Customizing Button Functions
The Nikon D610 offers extensive customization options for its buttons, allowing photographers to tailor the camera to their specific needs. Access the ‘Custom Setting’ menu (found within the setup menu) to modify button assignments.
You can reassign functions to buttons like the ‘AF-ON’ button, the ‘Fn’ button, and even the control dial. This enables quick access to frequently used settings, such as autofocus modes, metering modes, or white balance.
Creating a ‘My Menu’ allows you to save frequently accessed settings for even faster recall. Experiment with different configurations to find what works best for your shooting style. Remember to document your changes to easily revert if needed. This level of customization significantly enhances workflow efficiency.
Shooting with the Nikon D610
Mastering the D610’s shooting capabilities involves understanding autofocus, metering, white balance, and image quality settings for optimal results in diverse conditions.
Autofocus Modes and Settings
The Nikon D610 offers a versatile autofocus (AF) system crucial for capturing sharp images. Understanding the different AF modes is key to success. AF-S (Single Servo) is ideal for stationary subjects, locking focus when the shutter button is half-pressed. AF-C (Continuous Servo) tracks moving subjects, continuously adjusting focus. AF-A (Auto-servo) automatically selects between AF-S and AF-C, though manual selection often yields better results.
Focus Area Modes determine how the camera selects focus points. Single-point AF allows precise focus point selection, while Dynamic-area AF uses surrounding points if the initial point loses the subject. 3D-tracking is excellent for erratic movement, and Auto-area AF lets the camera choose, best for quick snapshots. Fine-tuning AF is possible via the AF Fine Tune option in the setup menu, compensating for lens variations. Experimenting with these settings will unlock the D610’s full potential.
Metering Modes: Choosing the Right One
The Nikon D610 provides several metering modes to accurately expose your photographs. Matrix metering (also known as evaluative metering) analyzes the entire scene, ideal for general photography. It’s a great starting point for most situations. Center-weighted metering prioritizes the center of the frame, useful when your subject is centrally located and has distinct tonal differences from the background.
Spot metering measures light from a very small area, perfect for challenging lighting conditions or when precise exposure of a specific subject element is needed. Highlight-weighted metering focuses on the brightest areas, preventing blown-out highlights. Understanding how each mode interprets light is crucial. Experimenting with different modes and utilizing exposure compensation will help you achieve consistently well-exposed images with your D610.
White Balance Adjustment
Accurate white balance ensures colors are rendered naturally in your Nikon D610 photographs. The camera offers several preset options like Daylight, Cloudy, Fluorescent, and Tungsten, catering to various lighting conditions. Auto White Balance (AWB) is convenient but can sometimes be inaccurate. For precise control, utilize Custom White Balance.
This involves photographing a white or gray card under the current lighting and setting that as your reference. Kelvin temperature adjustment allows manual control, ranging from 2500K (warm) to 10000K (cool). Fine-tuning white balance is essential for achieving desired color tones. Shooting in RAW format provides flexibility to adjust white balance non-destructively during post-processing, offering greater creative control.
Image Quality Settings: RAW vs. JPEG
Choosing between RAW and JPEG significantly impacts your workflow and image editing capabilities with the Nikon D610. JPEG files are compressed, smaller in size, and ready for immediate use, but offer limited editing flexibility. RAW files, conversely, contain all image data captured by the sensor, providing maximum editing latitude.
RAW files require post-processing software like Adobe Lightroom or Nikon Capture NX-D to be viewed and edited. They allow for adjustments to white balance, exposure, and color without significant quality loss. While RAW files take up more storage space, they are ideal for serious photographers seeking optimal image quality and control. Consider your editing needs and storage capacity when selecting your preferred format.

Advanced Features and Techniques

Unlock the D610’s full potential with CLS, time-lapse, and HDR photography. Explore creative lighting, dynamic range expansion, and cinematic video capabilities for stunning results.
Using the Nikon Creative Lighting System (CLS)
The Nikon Creative Lighting System (CLS) offers powerful off-camera flash control with your D610. Utilizing compatible Nikon Speedlights, you can achieve sophisticated lighting setups beyond the camera’s built-in flash. CLS enables remote flash control, adjusting power levels and settings directly from the camera’s menu.
To begin, ensure your Speedlight is set to a remote mode. The D610 communicates wirelessly with these flashes, allowing for precise control over multiple units simultaneously. Explore features like Advanced Wireless Lighting (AWL) for flexible group configurations and balanced illumination. Experiment with different flash modes – TTL for automatic exposure or manual for complete creative control.
Mastering CLS unlocks a world of possibilities, from subtle fill-flash to dramatic studio-style lighting. Utilize the camera’s modeling flash function to preview lighting effects before capturing the shot. Remember to consult the Speedlight’s manual for detailed instructions on its specific CLS capabilities.
Time-Lapse Photography with the D610
The Nikon D610 is well-suited for creating stunning time-lapse videos. While the camera doesn’t have a dedicated time-lapse mode, it can be easily achieved using the intervalometer function within the menu system. This allows you to set the interval between shots, the total number of shots, and initiate the sequence automatically.
To begin, access the ‘Time-Lapse Photography’ menu option. Configure the shooting interval based on your desired effect – shorter intervals for fast-moving subjects, longer for slow changes. Consider using a fully charged battery or AC adapter for extended shoots. A sturdy tripod is essential to maintain consistent framing throughout the sequence.
After capturing the images, use video editing software to compile them into a time-lapse video. Experiment with different intervals and frame rates to achieve unique visual results. Remember to shoot in manual mode for consistent exposure.
High Dynamic Range (HDR) Photography
The Nikon D610 excels in HDR photography, capturing detail in both bright highlights and dark shadows. This technique involves taking multiple exposures of the same scene – typically three to five – at varying shutter speeds. These images are then merged using specialized software to create a single image with an expanded dynamic range.
Utilize the camera’s Auto Exposure (AE) lock function to maintain consistent framing between shots. Shoot in Aperture Priority mode for consistent depth of field. Ensure your tripod is stable to avoid ghosting artifacts. Post-processing software like Adobe Lightroom or Nik Collection offers robust HDR merging capabilities.
Experiment with different exposure bracketing settings to find the optimal range for your scene. Be mindful of moving subjects, as they may appear blurred in the final HDR image.
Maintenance and Troubleshooting
Proper camera care ensures longevity. Regularly clean the sensor, address common issues, and keep your D610 updated with the latest firmware for optimal performance.
Cleaning the Camera Sensor
Maintaining a clean sensor is crucial for image quality with your Nikon D610. Dust particles can appear as spots in your photos, especially at smaller apertures. Nikon recommends using a blower to initially remove loose dust.
For stubborn particles, employ a sensor cleaning kit specifically designed for DSLRs. These kits typically include sensor swabs and cleaning fluid. Always follow the kit’s instructions carefully to avoid damaging the sensor.
Ensure the camera is fully charged or has a fresh battery before starting the cleaning process. Work in a clean, well-lit environment. Lock up the mirror and access the sensor using the camera’s menu. Gently swipe the swab across the sensor in a single, smooth motion. Inspect the sensor and repeat if necessary with a fresh swab.
If you’re uncomfortable cleaning the sensor yourself, consider professional cleaning services offered by Nikon or authorized repair centers.
Troubleshooting Common Issues
Encountering problems with your Nikon D610? Several common issues have straightforward solutions. If the camera won’t turn on, check the battery charge and ensure it’s correctly inserted. For autofocus problems, verify your AF settings and lens compatibility.
If images appear blurry, confirm proper focusing technique and consider using a tripod for stability. Memory card errors often resolve by reformatting the card within the camera’s menu. Always back up your data before formatting.
Exposure issues can stem from incorrect metering modes or white balance settings. Review these settings and adjust as needed. If the LCD screen displays errors, consult the camera’s manual for specific error code explanations.
For persistent issues, visit the official Nikon support page or consider professional repair services.
Firmware Updates: Keeping Your D610 Current
Maintaining optimal performance of your Nikon D610 requires regular firmware updates. These updates, released by Nikon, address bugs, enhance compatibility, and sometimes introduce new features. Check the official Nikon D610 support page frequently for the latest version.
Downloading the firmware is typically straightforward, and Nikon provides detailed instructions. You’ll need a formatted memory card to transfer the update file. Ensure the camera battery is fully charged, or use an AC adapter during the update process to prevent interruption.
Follow the on-screen prompts carefully during installation. Do not turn off the camera or remove the memory card while updating, as this could damage the camera’s internal systems. A successful update will improve your D610’s overall functionality.
Resources and Further Learning
Expand your knowledge with the official Nikon D610 support page and downloadable PDF manual. Explore online communities and tutorials for advanced techniques.
Official Nikon D610 Support Page
Access Nikon’s official support website for the D610 to find a wealth of resources designed to enhance your photographic experience. This dedicated page provides direct access to frequently asked questions (FAQs) addressing common user concerns and troubleshooting steps for various issues.
You’ll discover downloadable software and firmware updates crucial for maintaining optimal camera performance and accessing the latest features. Nikon also offers detailed specifications, warranty information, and contact details for their customer support team.

Furthermore, the support page often hosts helpful articles, tutorials, and guides created by Nikon experts, covering everything from basic operation to advanced techniques. It’s a central hub for all things D610, ensuring you have the tools and information needed to fully utilize your camera’s capabilities and resolve any challenges you may encounter.
Downloading the Complete User Manual (PDF)
Obtain the comprehensive Nikon D610 User Manual in PDF format for offline access and detailed guidance. This downloadable resource provides an exhaustive explanation of every feature, function, and setting available on your camera. It’s an invaluable tool for both beginners and experienced photographers seeking to master the D610’s capabilities.
The PDF manual includes detailed illustrations, step-by-step instructions, and troubleshooting tips, covering everything from basic operation to advanced techniques like utilizing the Creative Lighting System.
Having a digital copy allows you to easily search for specific information, print relevant sections, or view the manual on any device. Several websites offer direct download links, ensuring convenient access to this essential resource for maximizing your D610 experience and understanding its full potential.
Leave a Reply